


April Wall Decor 20% Sale!
Blog Search
Latest posts
-

-
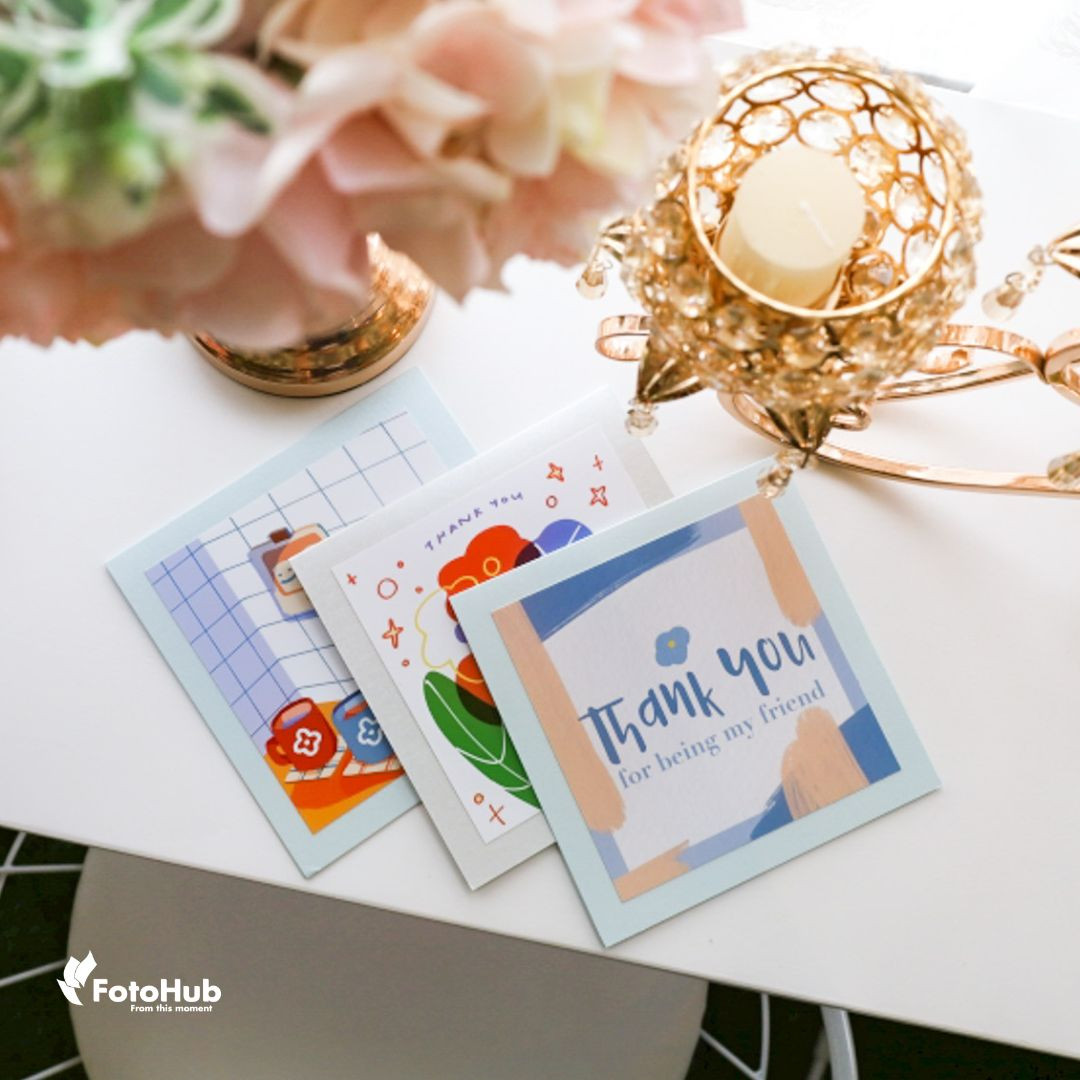
 Hari Raya 2024 20% off all GiftsRead more ...
This Hari Raya, we are giving a 20% off on all gifts!
-
 Migrant Workers Photography FestivalRead more ...
CAPTURING STORIES: CELEBRATING MIGRANT WORKERS THROUGH PHOTOGRAPHY The Migrant Workers Photography Festival...
-
") The travel bundle (promotion ended)Read more ...
The travel bundle (promotion ended)Read more ...PhotoBook Travel Bundle With the start of spring in our neighbouring ASEAN countries and upcoming school...
-
") Try Your Luck and win up to $8.88 off! (Event Over)Read more ...
Try Your Luck and win up to $8.88 off! (Event Over)Read more ...Happy Lunar New Year! Spin the Wheel of Fortune and test your luck ✨ Lunar New Year Spin & Win...
Popular posts
-
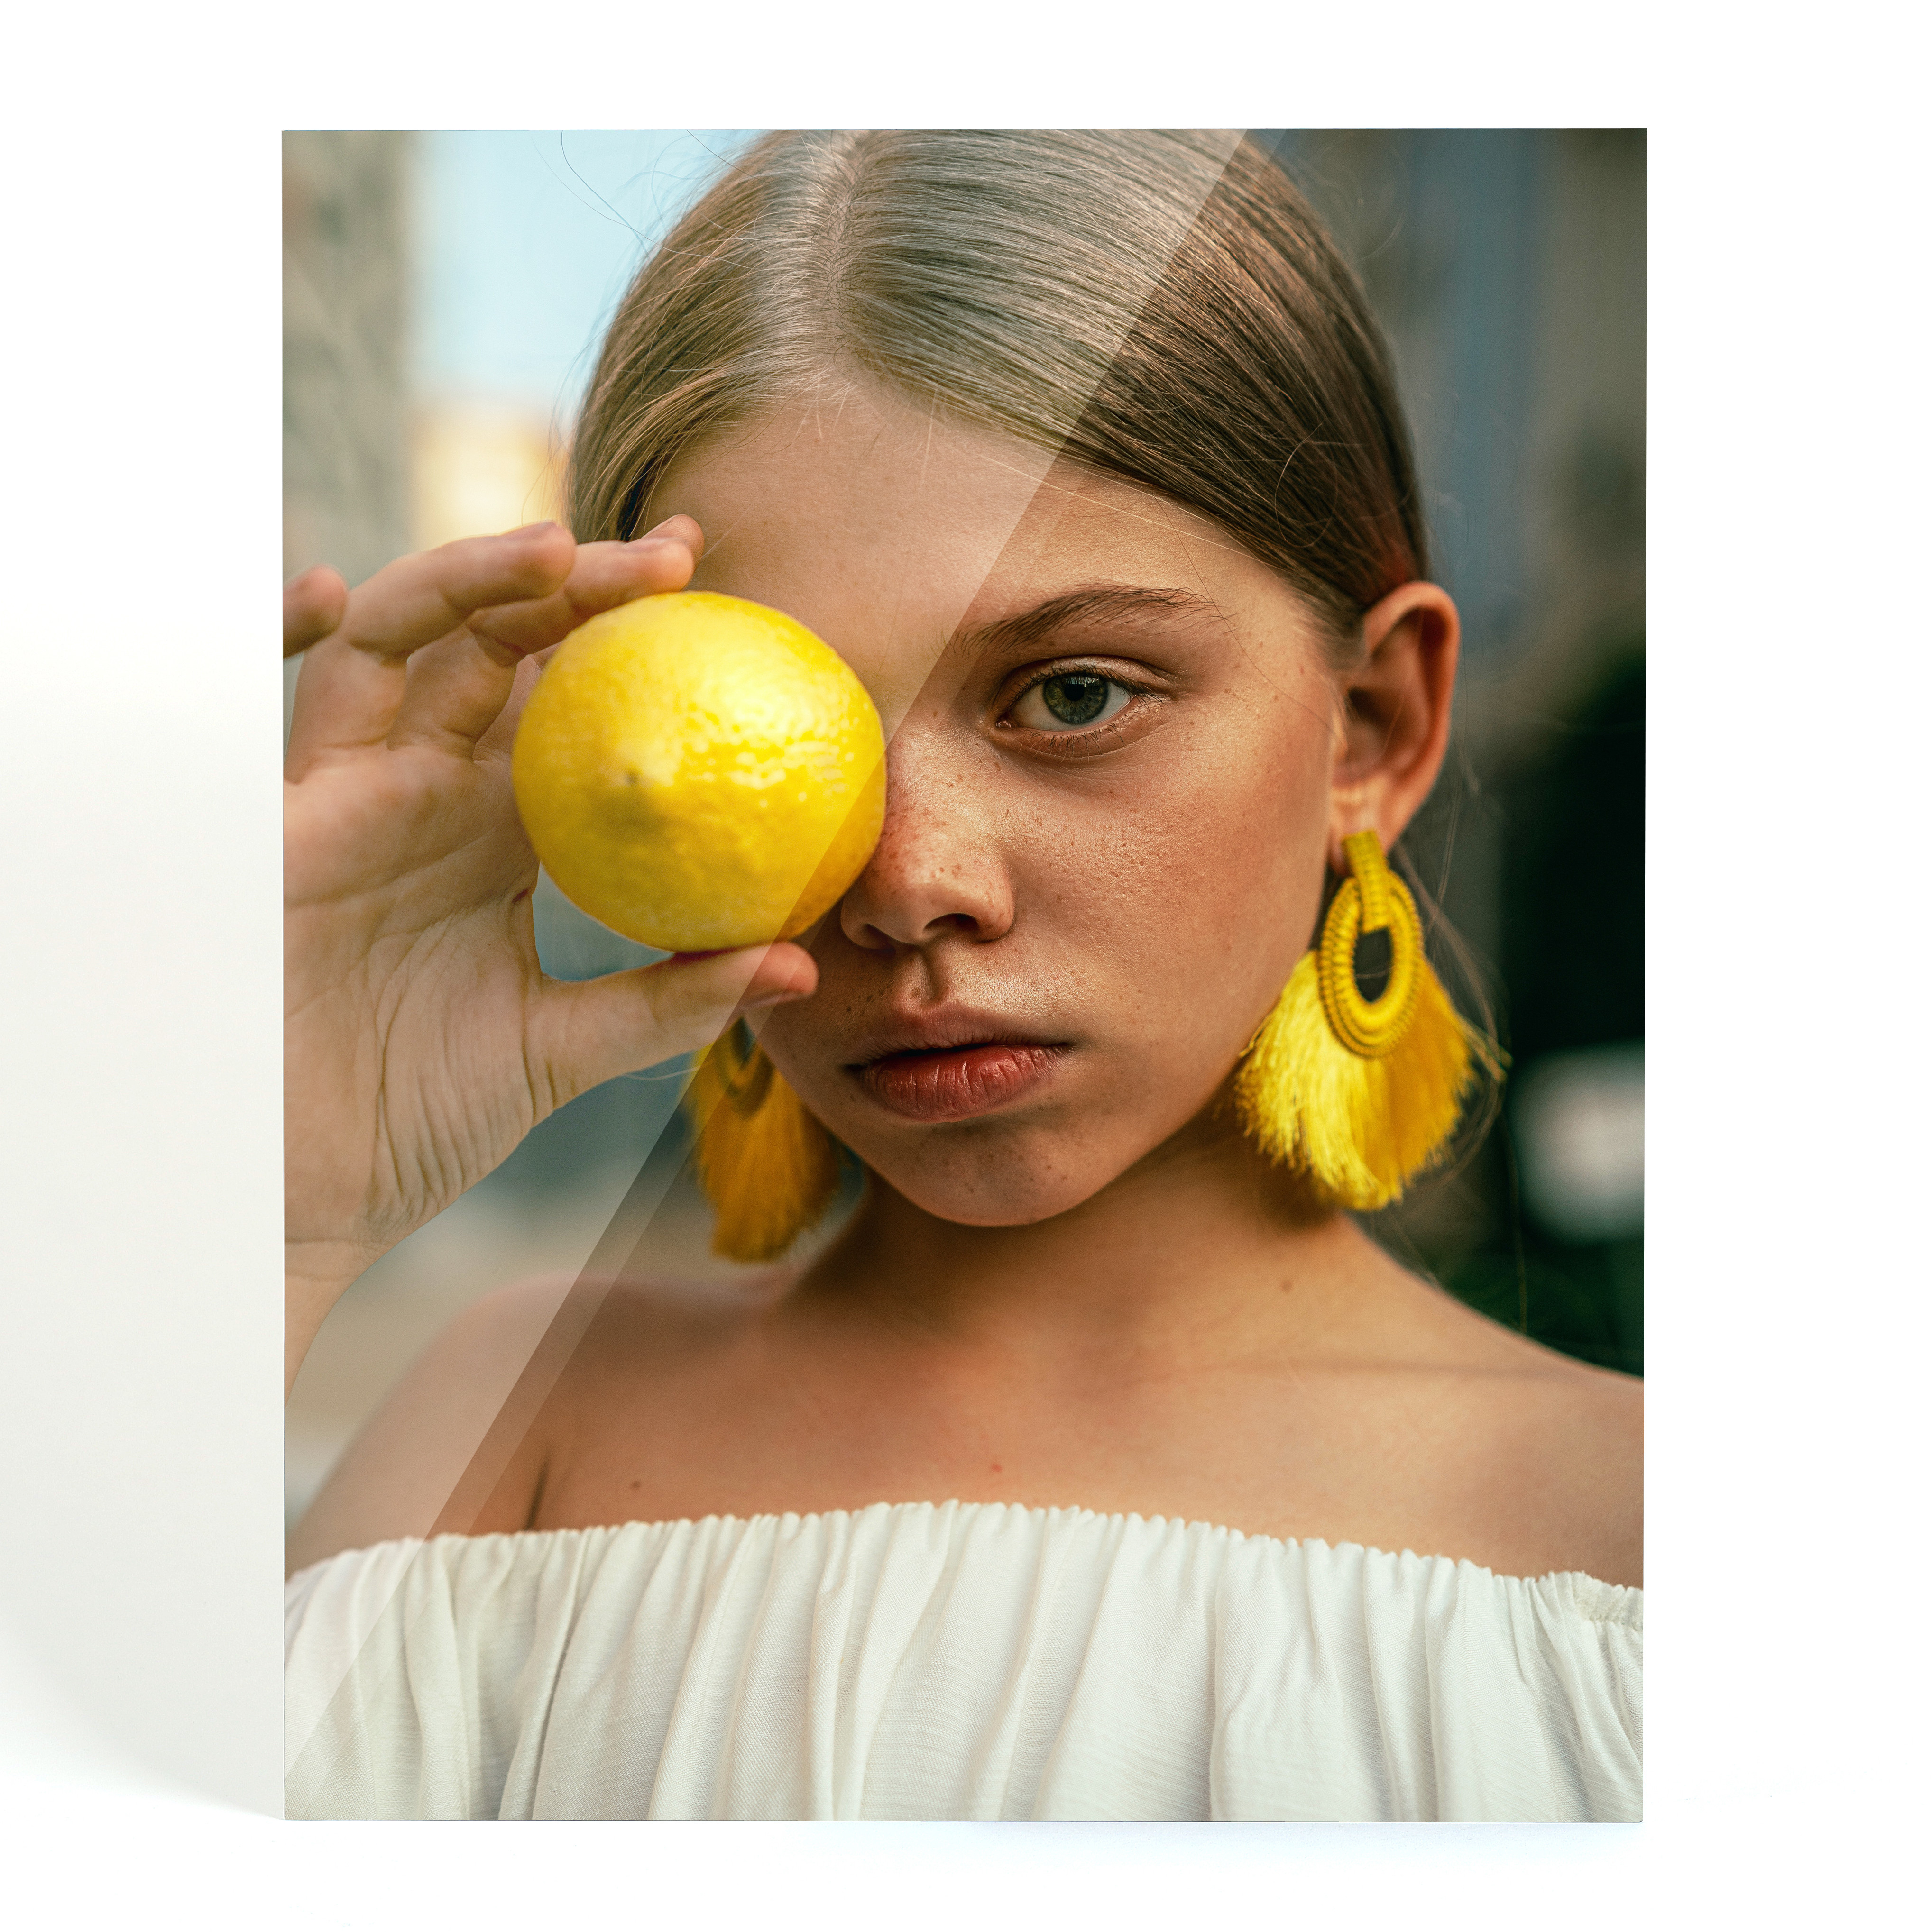
 Photo and Home Decor Print Size GuideIf you want to add more warmth and personality to your room, the best way is to add pictures. The choices are...Read more ...
 -
 Malaysia Passport RenewalPassport expiring soon? Renewing working pass soon? Are you facing a lot of problems with Malaysia Passport renewal?...Read more ...
 -
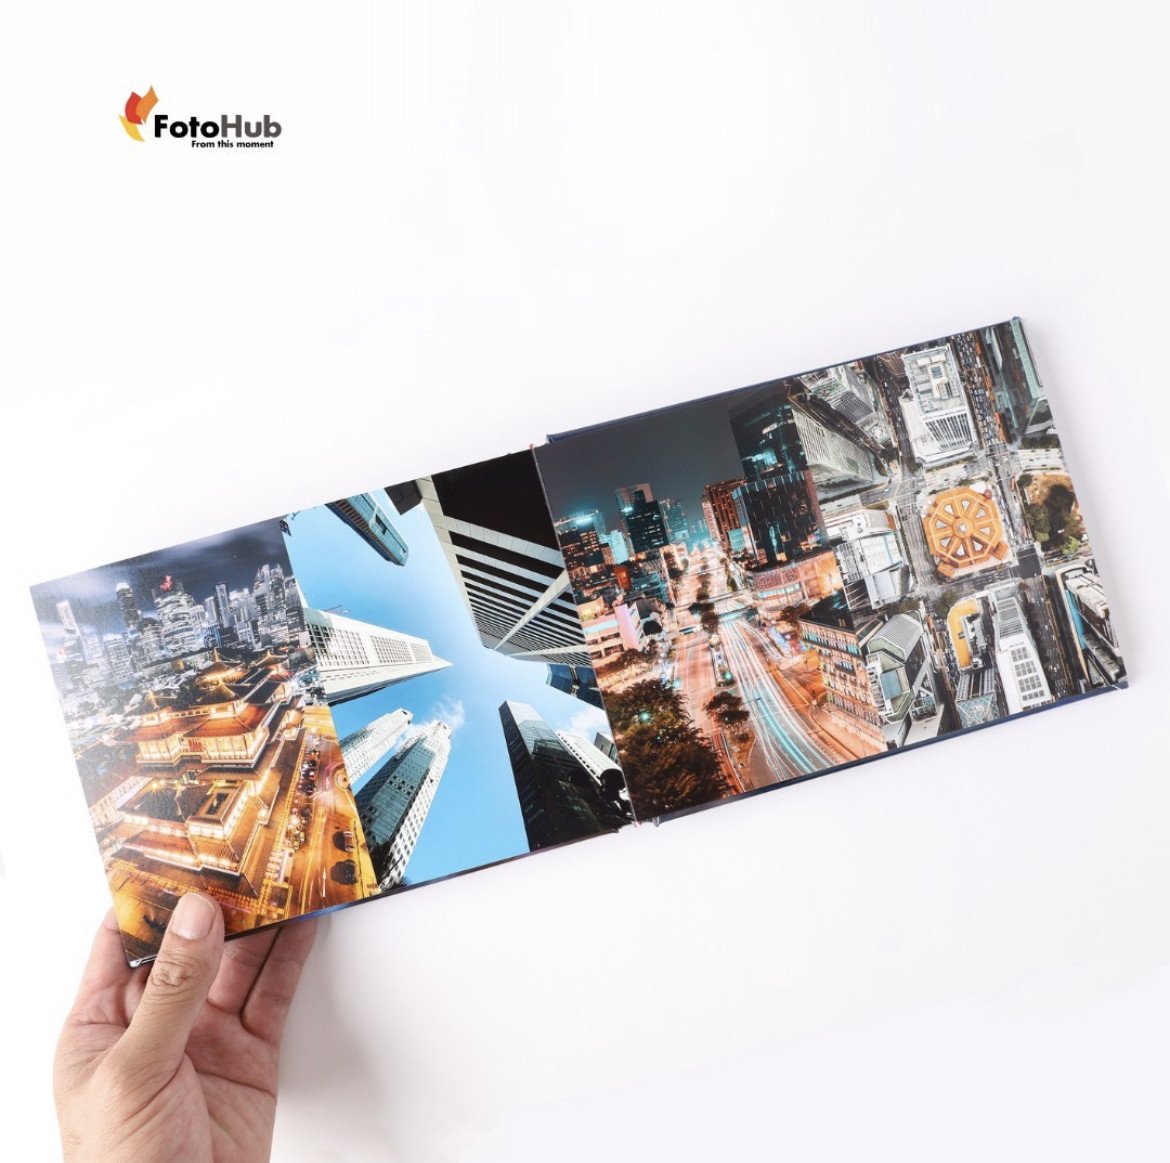
 How to create your Photobook on the new FotoHub online editor?Creating your own photobook should be fun and easy with the new FotoHub online editor. Choose your photobook theme,...Read more ...
 -
 Paper Shoot Camera x FotoHub CollaborationAn exclusive deal on FotoHub's new online launches, in partnership with Paper shoot camera Singapore! Read more to...Read more ...
 -
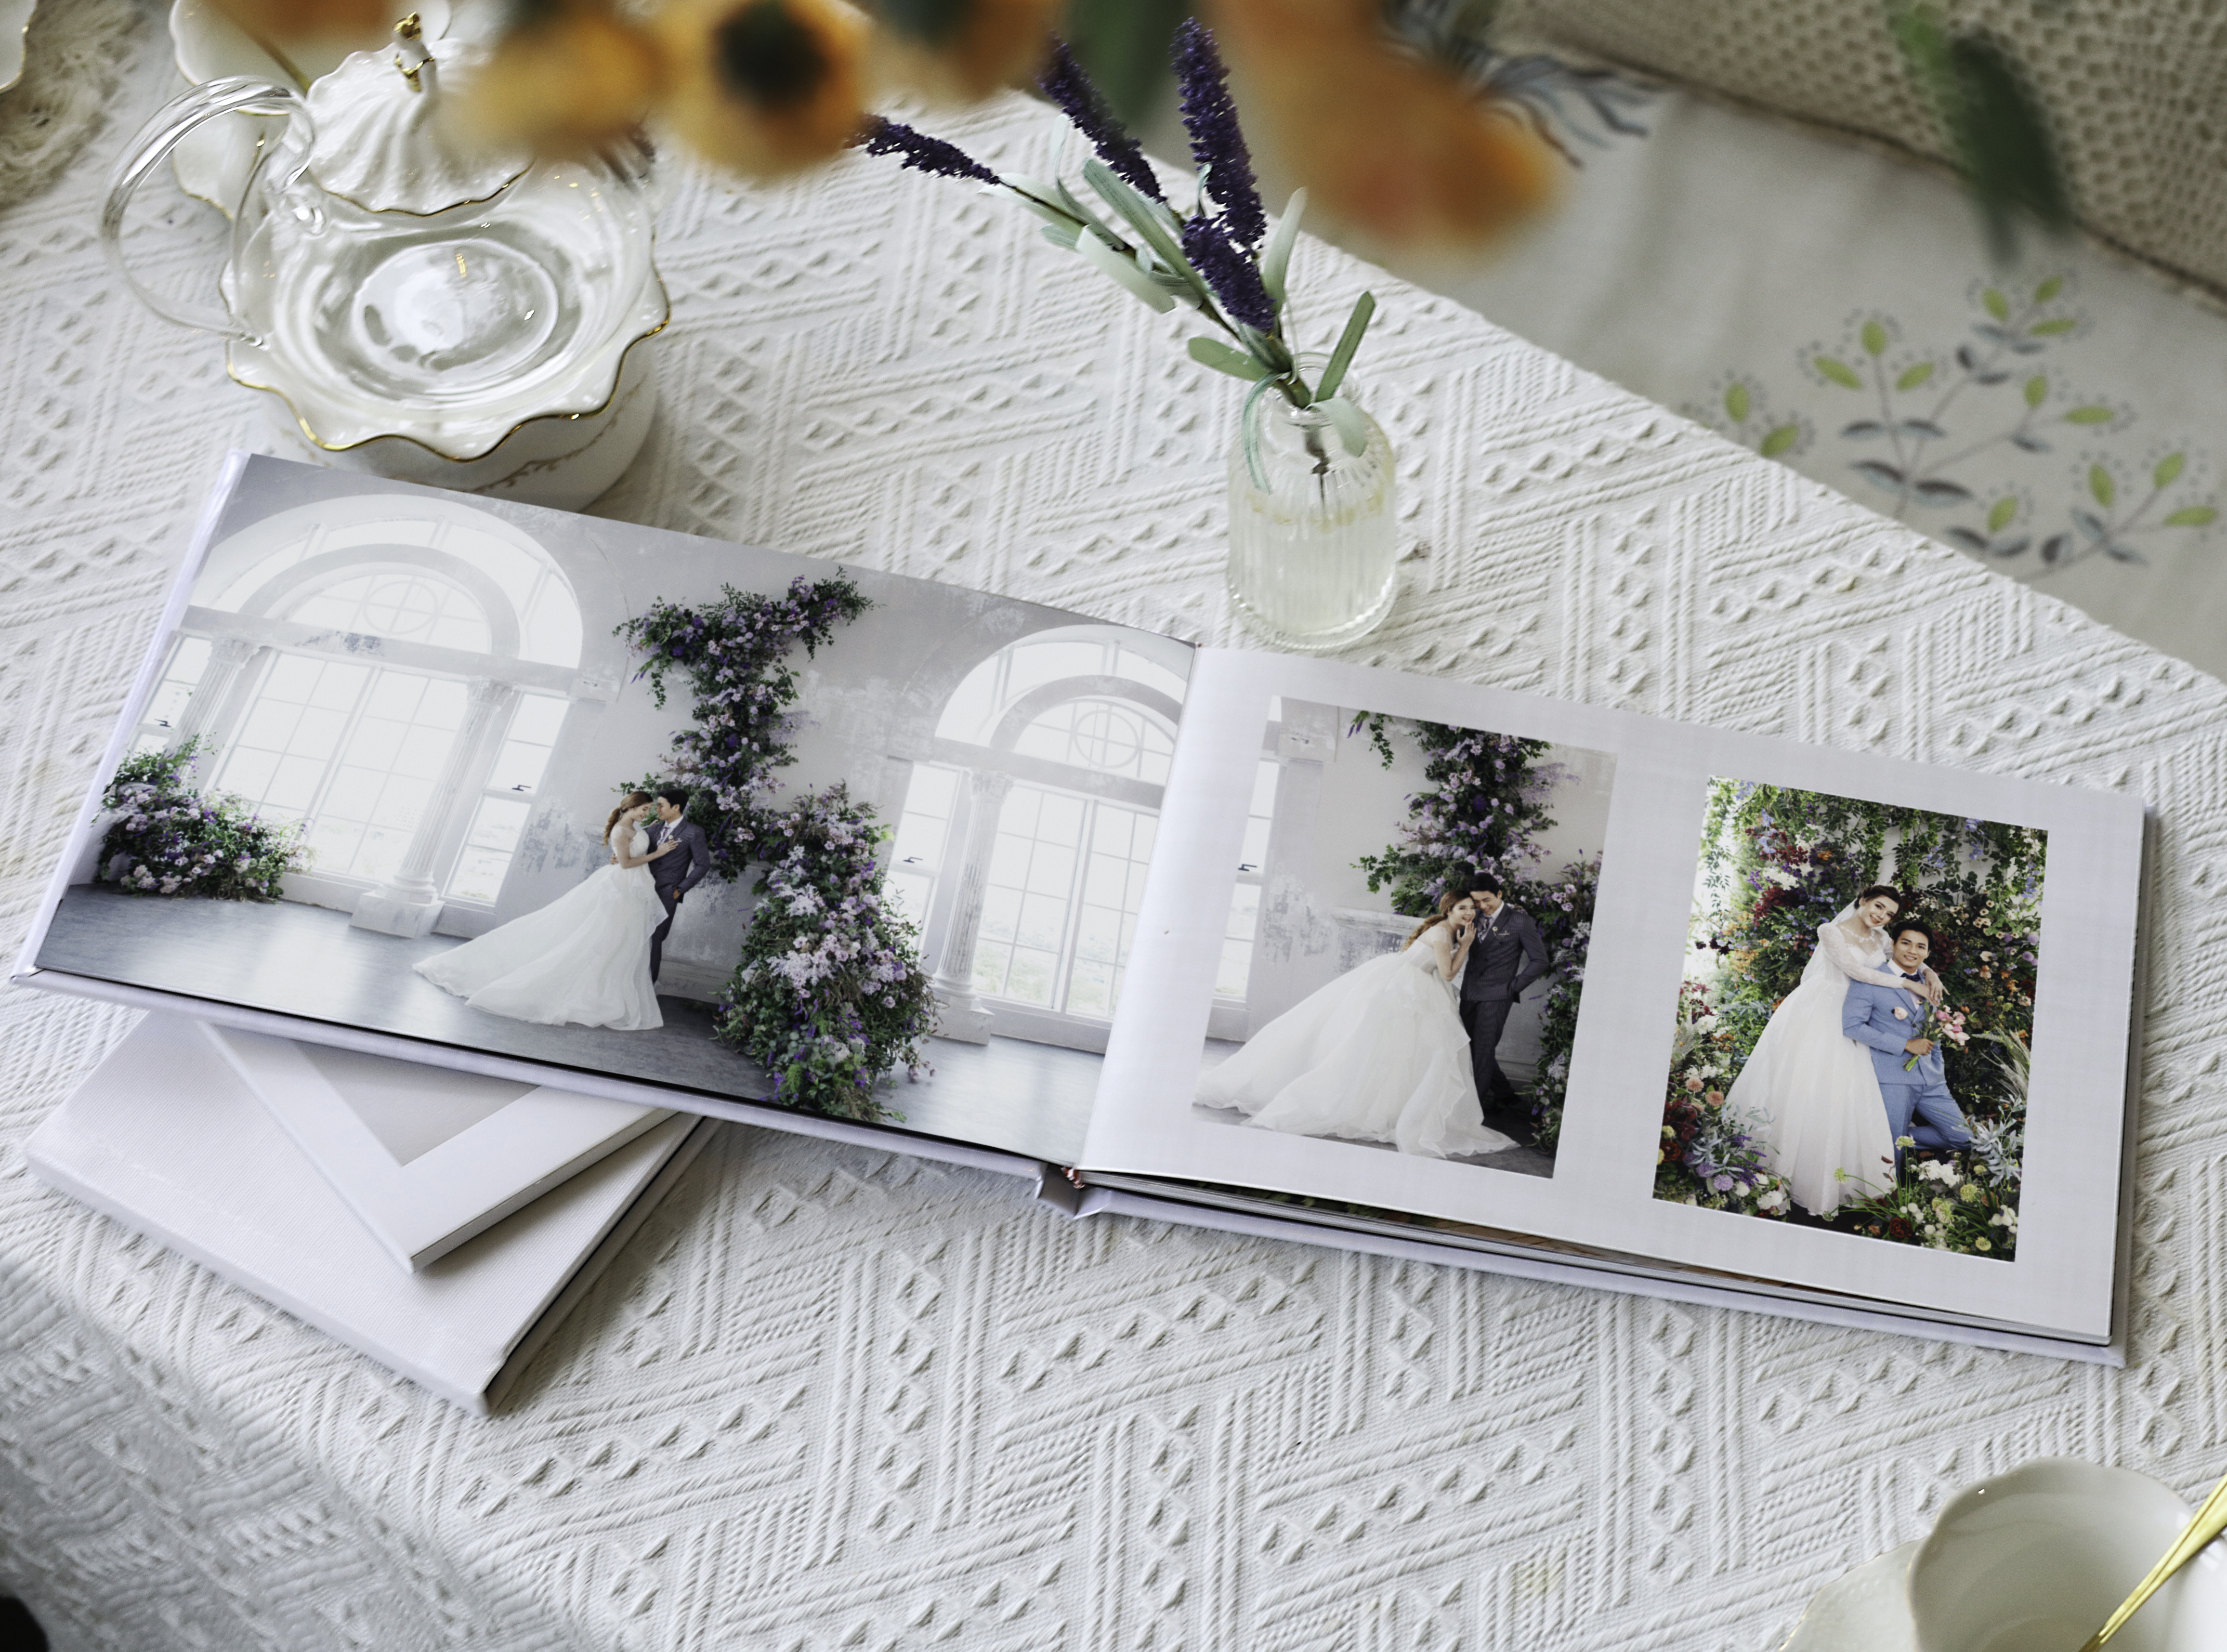
 5 Ideas on Wedding Canvas PrintsWhile you are busy with your wedding preparation, you must include the kind of photos you will print. Your wedding...Read more ...
Featured posts
-
-
Migrant Workers Photography FestivalCAPTURING STORIES: CELEBRATING MIGRANT WORKERS THROUGH PHOTOGRAPHY The Migrant Workers Photography Festival...Read more ...
-
The travel bundle (promotion ended)PhotoBook Travel Bundle With the start of spring in our neighbouring ASEAN countries and upcoming school...Read more ...
-
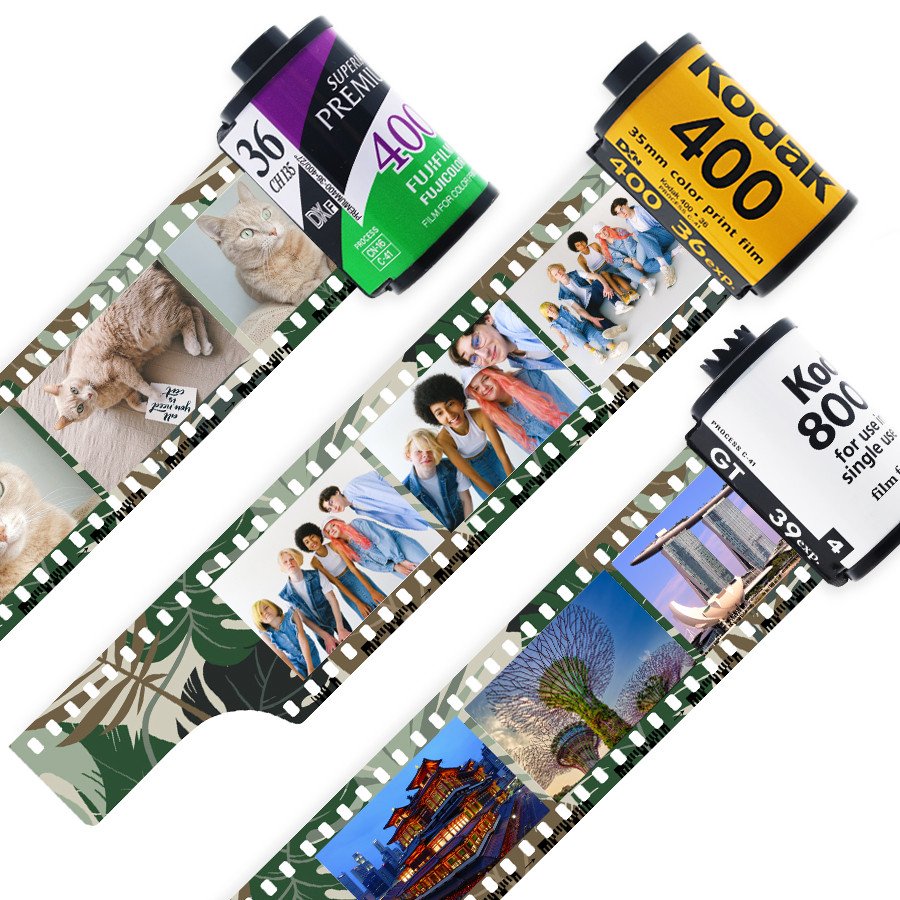
 EcoFilm: The Iconic Film StripFilm photography is undeniably a unique art form that carries an unmatched aesthetic and sentimentality, and has seen...Read more ...
 -
 Photo Coasters with a TwistCoaster that double up as fridge magnets? Learn how to customise your own in just a few simple stepsRead more ...


Leave a comment
Log in to post comments